
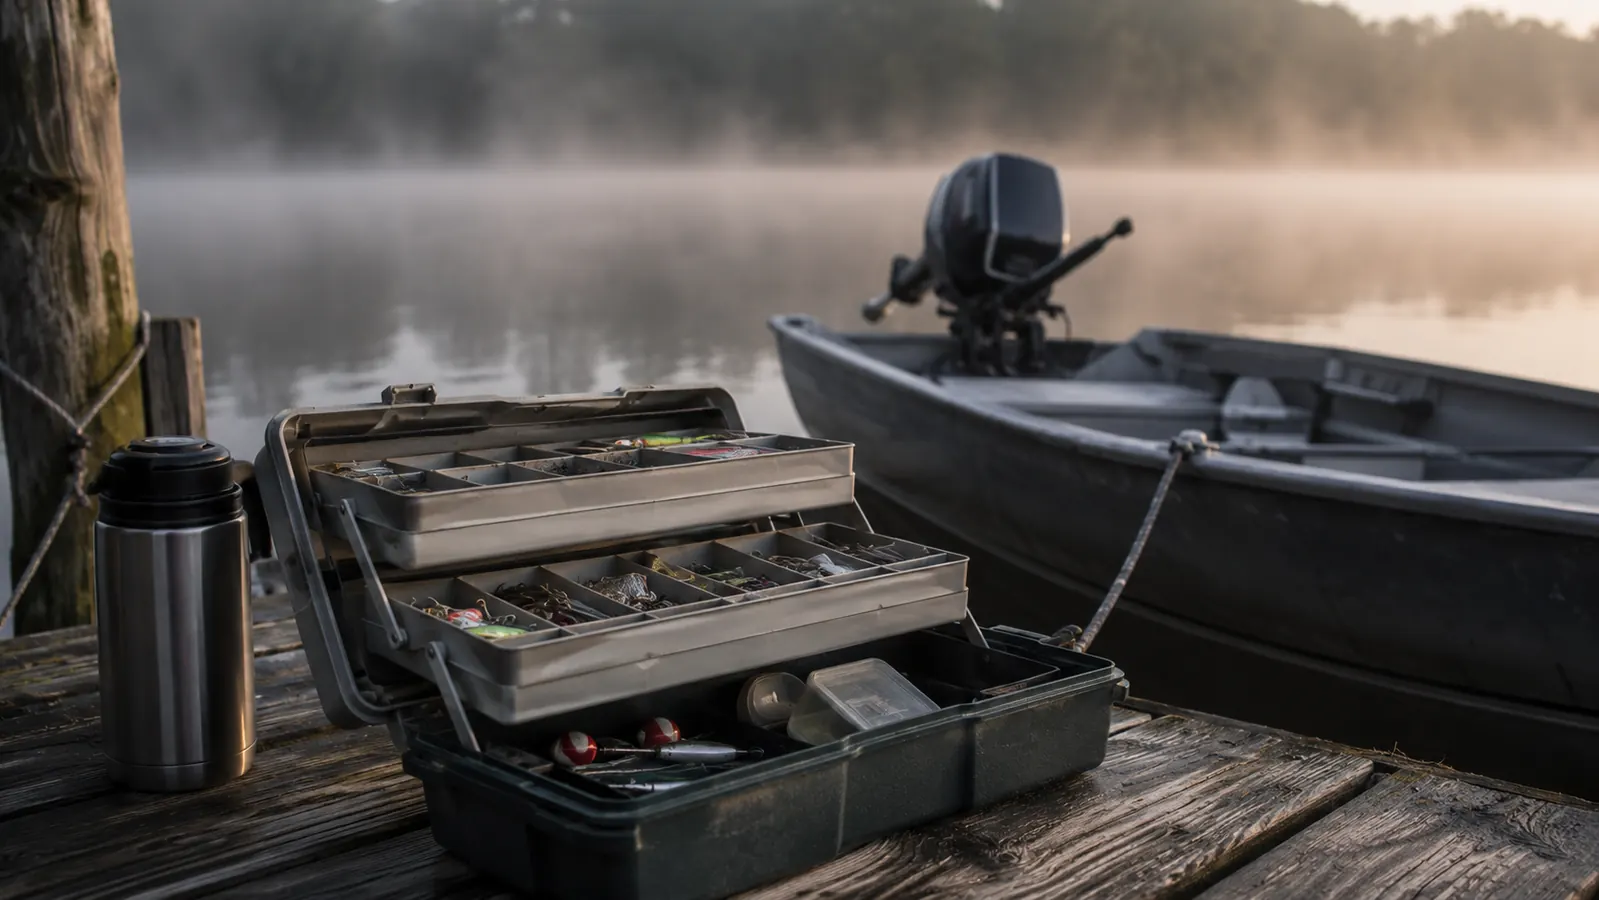
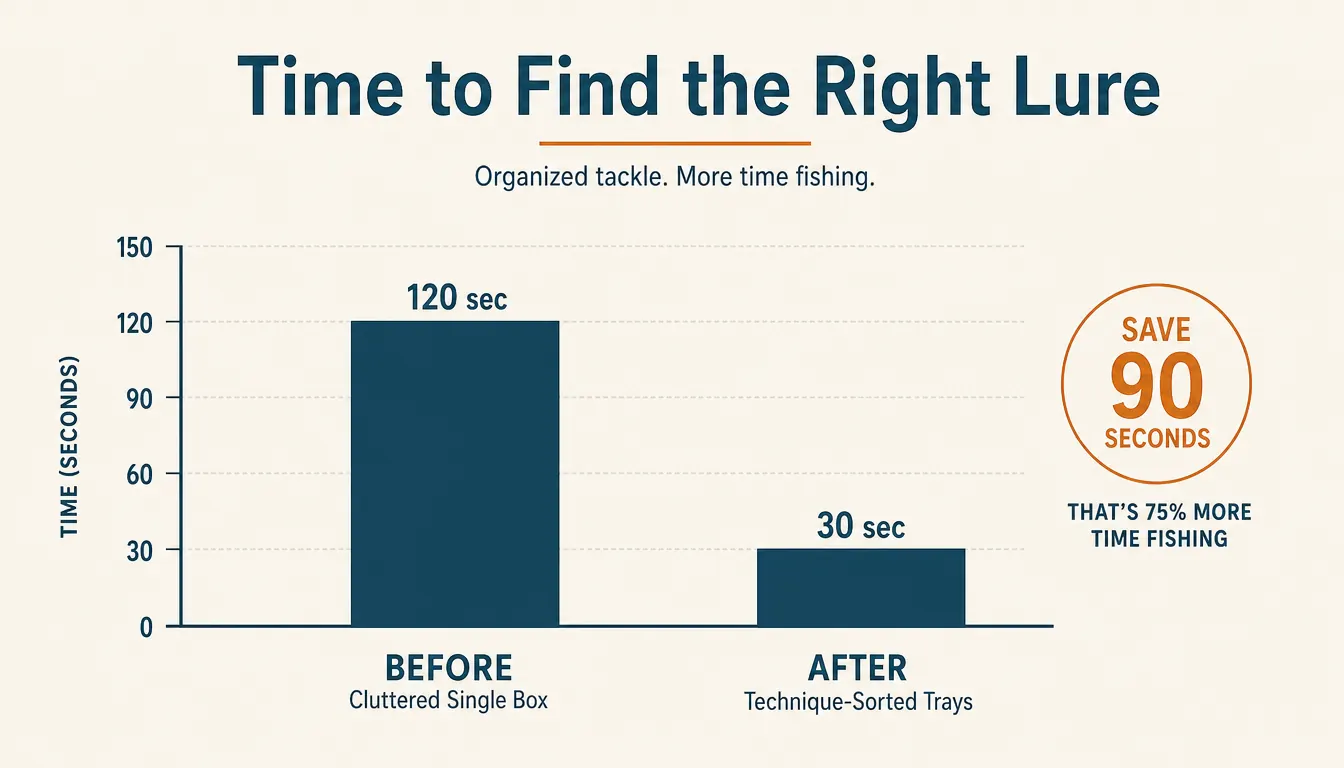
My tackle box used to look like a crime scene. Hooks tangled up with spinnerbaits, a loose bag of split shot rolling around in the bottom, and three different colors of the same soft plastic mixed together like nobody made them on purpose. I would dump the whole tackle box out on the dock at Winnipesaukee, waste ten minutes digging through it, and by the time I found the jig I wanted, the fish had already moved off the drop. Ray, my brother-in-law, used to give me grief about it every single trip out. He would open his tackle box, pull exactly what he needed in about four seconds flat, and be casting again while I was still elbow deep in a pile of rusty trebles and loose swivels.
Here is the thing nobody tells you when you buy your first tackle box. Sorting it once by lure type does not hold up. Six weeks later it is chaos again, because a single tackle box crammed with everything you own is not actually how fishing works. Somewhere in there I finally swapped my old plastic box for a set of KastKing utility tackle boxes, mostly because the shallow trays and removable dividers made it obvious how I should have been sorting things all along, by what I do with a bait rather than what it is called. You do not think in terms of crankbaits and jigs when a bass just blew up on a topwater ten feet from a stump. You think in terms of technique, current, and confidence baits. I spent close to fifteen years reorganizing my tackle box the wrong way before I landed on a system that sticks.
This is not a fancy system. It does not require a garage full of storage bins or a label maker with fifty fonts. It requires a handful of trays, a Sunday afternoon, and the willingness to admit the way you have been doing it is not working. I run three KastKing utility tackle boxes now, one for each stretch of water I fish regularly, and I can pack for a morning on the Merrimack in about ninety seconds. A tackle box is not a junk drawer you carry to the water. It is a tool, and tools work better when set up on purpose.
Below is exactly how I rebuilt mine, and how you can rebuild yours this weekend.
Stop Digging Through One Overstuffed Box
This whole system falls apart without trays built for it. The KastKing utility tackle boxes have the shallow profile and removable dividers this method needs, and they're what I run in all three of mine.
Amazon Check Today's Price on Amazon →Step 1: Dump Everything Out on the Floor
Every reorganization I have ever done that actually stuck started the same way, with everything dumped out on the floor, or the tailgate, or the picnic table at the boat launch. Do not try to reorganize a tackle box while it is still in the box. You will just shuffle the same mess from one compartment to another and call it progress. Get a tarp or an old bedsheet down, tip every tray over, and let it all land in one pile.
While you are at it, separate anything wet or damp from anything dry. If you fish live bait or you have been tossing soft plastics back in still coated in scent oil, set those off to the side entirely. That oil and moisture is exactly what rusts hooks and warps foam-lined trays, and it is the single biggest reason tackle boxes fall apart after a couple of seasons.
Once it is all out, resist the urge to start putting things away again right away. Look at the pile for a minute. You are going to notice things you forgot you owned, lures still in the original packaging from a trip three years ago, and probably a rat's nest of old leader material that should have been thrown out already. That is normal. Almost everybody's tackle box looks like this the first time they actually empty it.
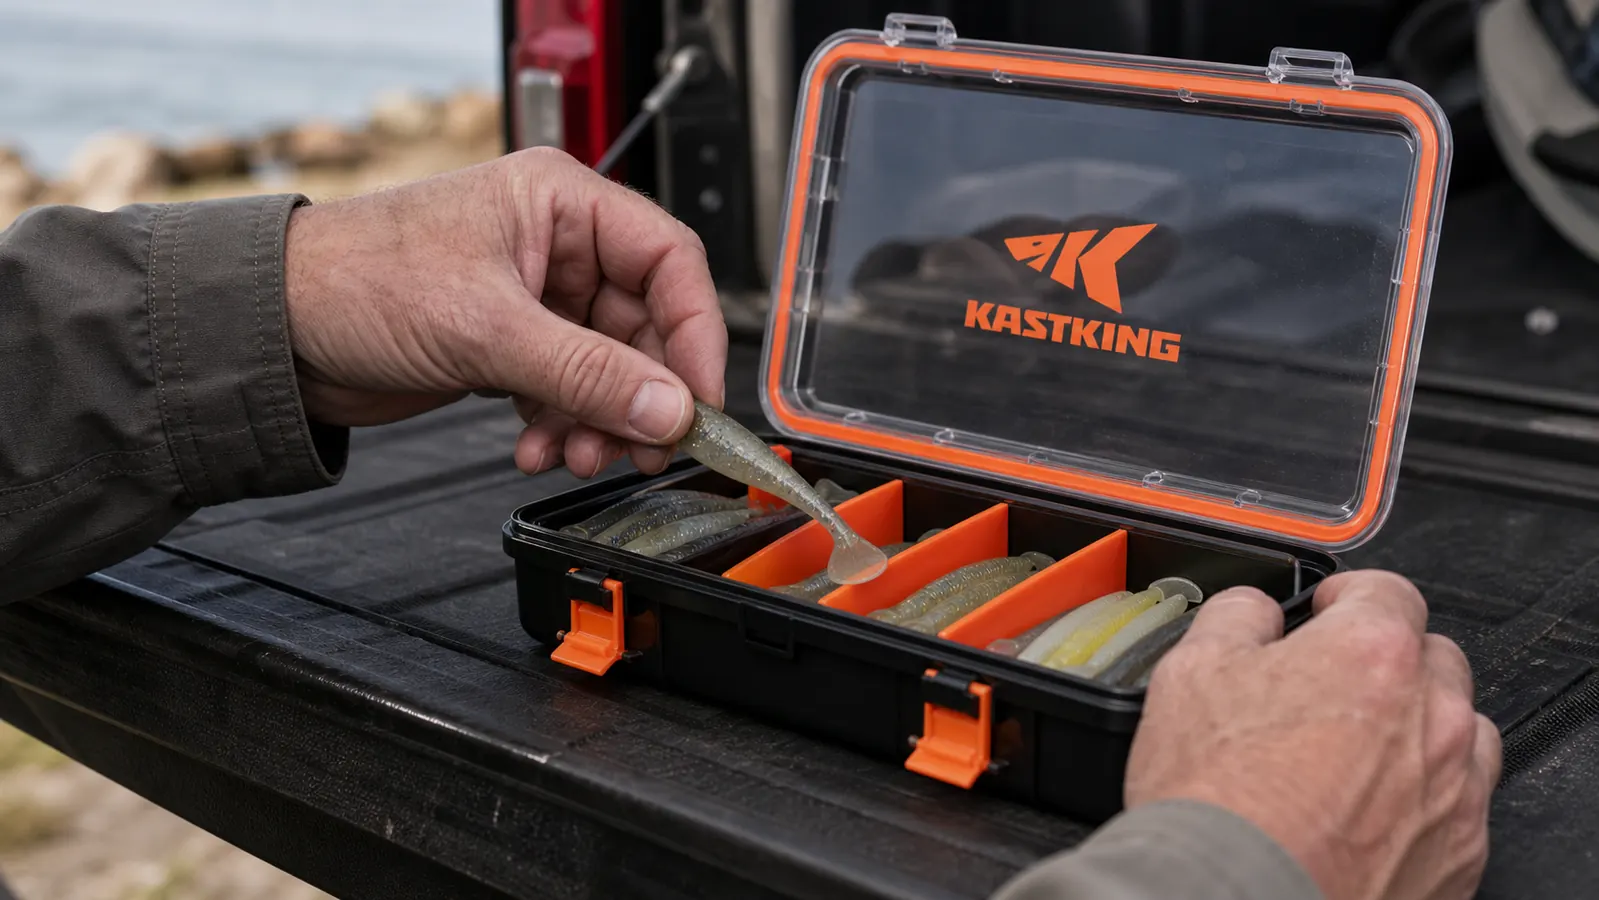
Step 2: Sort by Technique, Not by Lure Type
This is the part that changes everything, and it is the part almost nobody does right the first time. Do not sort your tackle box by lure type. Do not make a tray for spinnerbaits and a tray for worms and a tray for topwater. That sounds organized, but it does not match how fishing actually happens on the water.
Sort by technique instead. One tray for finesse, your drop shots, your small jigs, your light soft plastics for when the bite is tough and fish are following but not committing. One tray for reaction baits, your spinnerbaits, your lipless cranks, anything you burn back fast when fish are aggressive and chasing. One tray for topwater and anything you fish up in the water column near cover. One tray for your bottom-contact stuff, your Texas rigs, your jigs, your football heads for rocky bottom.
Build this tray honestly. Do not put your favorite baits in it because they look good. Put in what has actually produced, repeatedly, across different lakes and seasons. If you are new to this and do not have years of data yet, ask around at the local bait shop or watch what the boats around you are throwing when they hook up.
Step 3: Build a Confidence Bait Tray That Always Comes
Every tackle box needs one tray that is not organized by technique at all. This is your confidence tray, and it comes on every single trip no matter where you are fishing or what the forecast says. Mine has a handful of chartreuse and white jig and grub combos, two colors of a soft jerkbait that has never let me down on the Merrimack, a couple of small silver spoons, and a few Texas-rigged worms in green pumpkin. Nothing fancy, just the baits that have caught fish for me in more conditions than anything else I own.
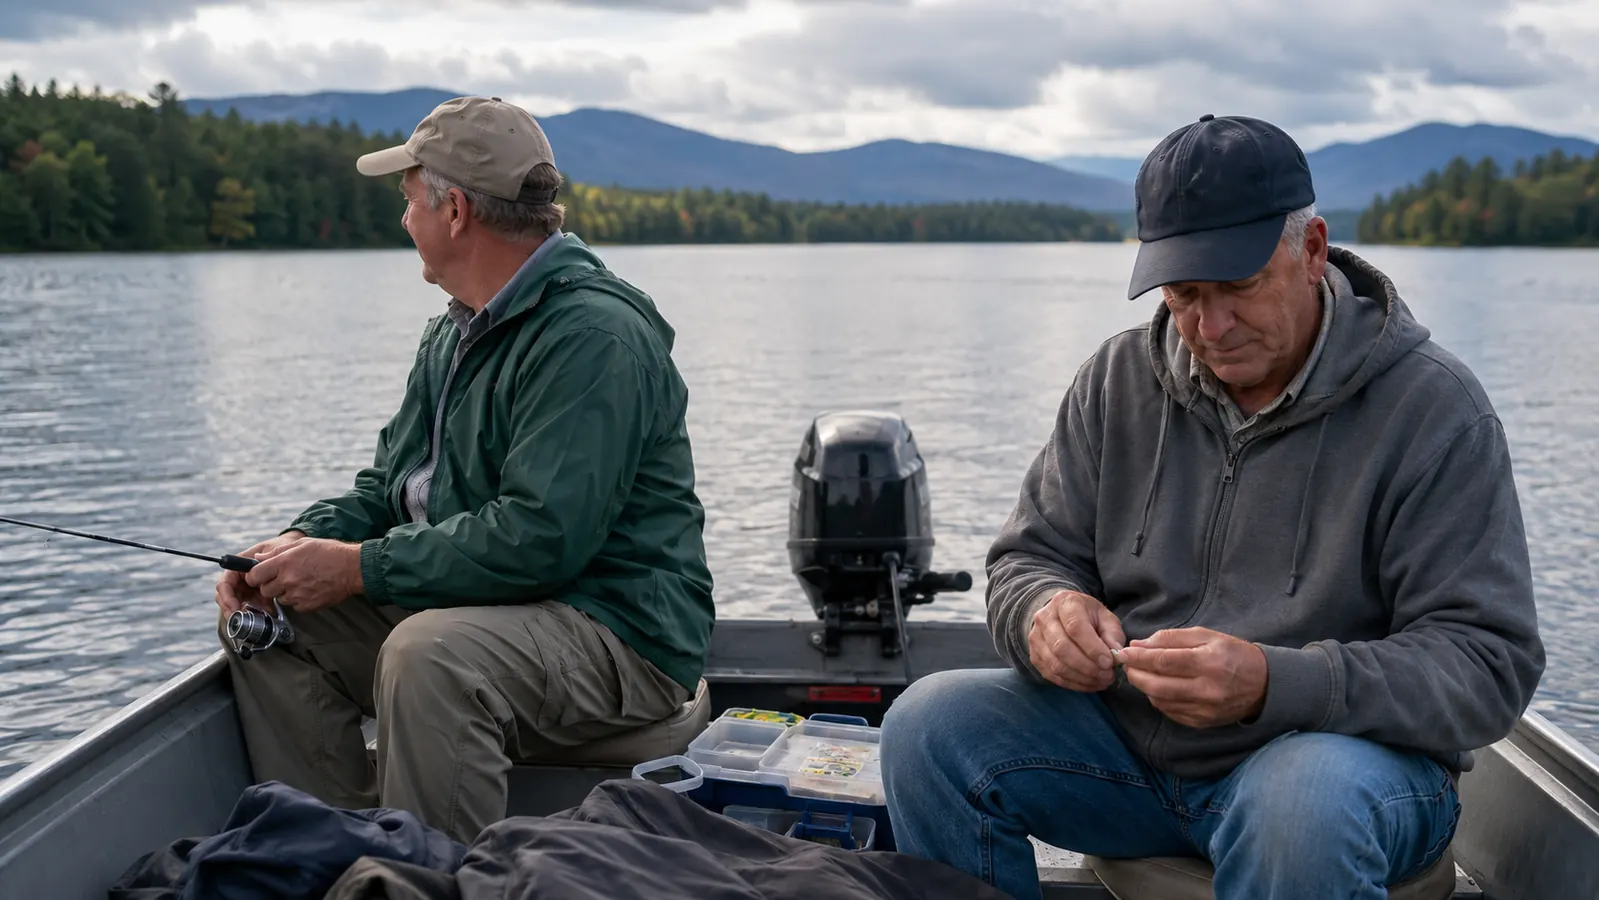
The confidence tray solves a real problem, which is decision fatigue on the water. When you are standing in a 16-foot aluminum boat with a tiller outboard and the fish have gone quiet, you do not want to be flipping through six trays trying to remember what worked last August. You want one tray you already trust, so you can start there and only branch out from your other tackle box trays once you have ruled out the sure things.
Build this tray honestly. Do not put your favorite baits in it because they look good. Put in what has actually produced, repeatedly, across different lakes and different seasons. If you are new to this and do not have five years of data yet, ask around at the local bait shop or watch what the boats around you are throwing when they hook up. Your confidence tray will fill in fast once you start paying attention.
Step 4: Keep Hooks and Terminal Tackle Separate From Anything Wet
This is the step that saves you money and saves you from opening your tackle box to a rusted mess. Hooks, swivels, split shot, snaps, and anything else metal need to live in a tray that never touches anything wet. That means no damp soft plastics stored in the same tray, no scent-soaked worms tossed back in loose, and definitely no wet net or rag stuffed into the same compartment on the ride home.
I learned this one the hard way with a full tray of trebles I ruined on a striper trip off the coast in southern Maine one August. Salt spray got into the tackle box, the tray sat closed in the truck for two days, and every hook in there had a fine coat of rust by the time I opened it again. Terminal tackle is cheap but annoying to replace, and it is completely avoidable if you keep it segregated from anything that holds moisture.
The KastKing utility tackle box trays have solid latches and a tight enough seal that I trust them for this now, but the habit matters more than the container. Give hooks, weights, and hardware their own dry tray, and towel off anything wet before it goes back into that tray, every single time, not just when you remember.
Step 5: Label Both Ends So You Can Read It Stacked
Here is a small habit that makes a bigger difference than it should. Label both ends of every tray, not just the top. When your tackle box trays are stacked in a bag or a compartment, you are usually looking at the edge, not the lid, and if the only label is on top you are pulling out three trays to find the one you want. A strip of tape on each end with a marker, TOPWATER, FINESSE, TERMINAL, lets you read the whole stack at a glance without lifting a single lid.
I write mine in block letters with a paint pen so it does not smear or rub off after a season of getting rained on. It takes about ten minutes to label a full set of trays, and it pays for itself on the very first trip when you grab the right one without opening three others first. This sounds like a small thing, but it is the difference between a tackle box that works for you on the water and one that just sits there looking organized in the garage.
Step 6: Purge What You Haven't Tied On in Two Seasons
This is hard for a lot of anglers, myself included. I held onto a tray of old buzzbaits for years because I bought them on a trip to Lake Erie with my father and could not bring myself to toss them. Sentiment is fine, but keep it in a drawer at home, not in the tackle box that has to work for you every weekend.
This is hard for a lot of anglers, myself included. I held onto a tray of old buzzbaits for years because I bought them on a trip to Lake Erie with my father and could not bring myself to toss them. Sentiment is fine, but keep sentimental stuff in a drawer at home, not in the tackle box that has to work for you every weekend. A tackle box that is dragging around gear you never use is slower to search through and heavier to carry than it needs to be.
Purge honestly. If you pick up a lure and cannot remember the last time you tied it on, it goes in the giveaway pile or the garage sale box. Your tackle box should reflect how you fish now, not how you fished five years ago or what you hoped you would use when you bought it.
Step 7: Build a Lake-Specific Swap-In Tray
The last piece of this system is the one most anglers skip entirely, and it is the reason my truck has three KastKing tackle boxes instead of one. Winnipesaukee, the Merrimack, and the striper water on the coast are not the same fishery, and packing the exact same tackle box for all three is a mistake I made for years before I fixed it.
Build a small swap-in tray specific to where you are actually fishing that day. For Winnipesaukee, mine has smallmouth-sized tubes and a couple of drop shot rigs I do not carry anywhere else. For the Merrimack, it is river-specific stuff and a few extra split shot sizes for reading current. For the saltwater trips with Ray, that swap-in tray gets bigger hooks, heavier leader, and topwater plugs sized for stripers instead of bass.
The core trays, your technique trays, your confidence tray, your terminal tackle tray, stay the same everywhere. The swap-in tray is the only thing that changes based on the water. This keeps your tackle box light enough to actually carry down to the dock, while still making sure you are not standing on the Merrimack wishing you had packed for current instead of open water.
What Else Helps
Beyond the trays themselves, a couple of habits keep this whole system working. Rinse your tackle box trays with fresh water after any saltwater trip, even if they never got directly wet, because salt air alone will start pitting hardware over time. And do a five minute check before you leave the house, confirming your confidence tray and your water-specific swap-in tray are both actually in the boat. I have pulled away from the dock at Winnipesaukee before without my confidence tray more than once.
Sort a tackle box by what you do with a bait, not by what it is called, and the whole system finally makes sense on the water.
Rebuild Your Tackle Box This Weekend
Pick a Sunday afternoon, dump it all out, and sort it by technique instead of by lure. If you need trays to build the system in, this is the same KastKing tackle box setup I use on Winnipesaukee, the Merrimack, and the coast.
Amazon Check Today's Price on Amazon →