
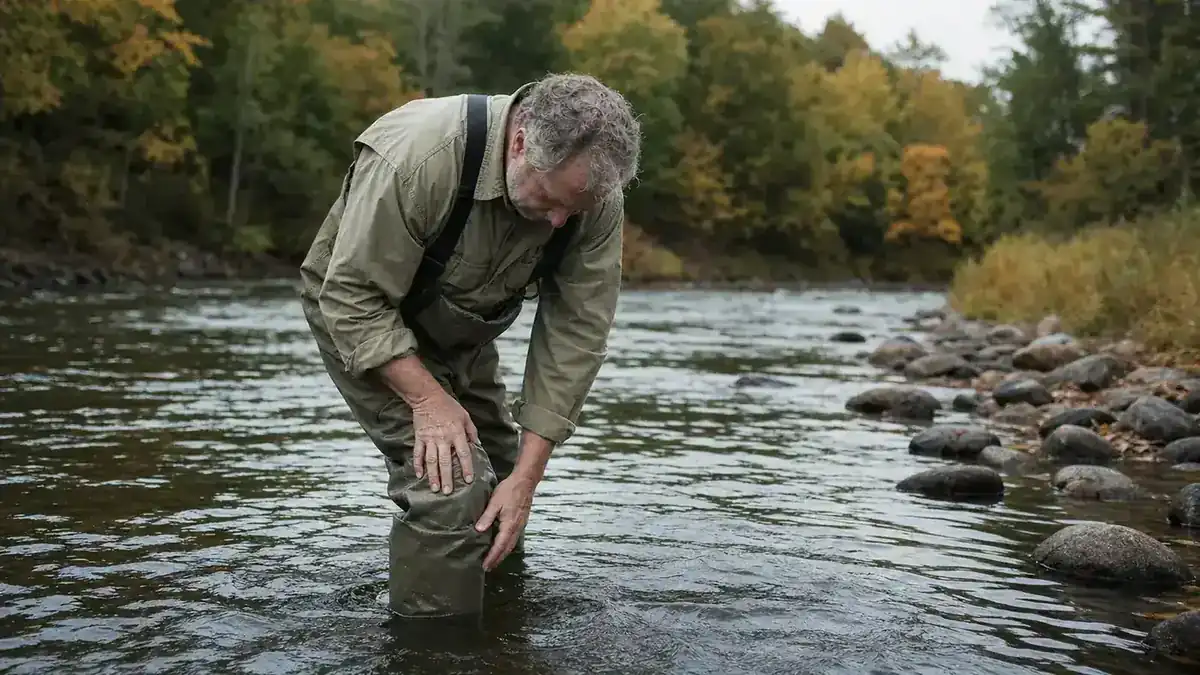
I've torn more waders than I want to admit to my wife, Denise. Most of it happens on the Merrimack River, wading out to reach a seam of current I can't get to from the bank, catching a submerged branch I never saw, and forty minutes later I've got a boot full of cold water and a look on my face that Ray, my brother-in-law, has learned to read from fifty yards away. A pinhole leak in a pair of waders doesn't have to ruin a season, and it doesn't even have to ruin the trip you're on, if you know what to do about it and you're carrying the right two-dollar fix in your vest.
This is the guide I wish somebody had handed me the first time I felt that cold trickle run down my shin standing in the Winnipesaukee shallows. I fish in a pair of Frogg Toggs Hellbender waders now, and part of the reason I trust them enough to recommend them to guys at the boat launch is that they're actually worth repairing instead of tossing in the burn barrel after one bad season. Patching a leaky wader in the field isn't hard, but there's a right order to do it in, and skipping steps is exactly how you end up with a patch that peels off two hours later, usually right when you've waded out the farthest.
A Pinhole Shouldn't Cost You a Trip, But the Wader Underneath It Should Be Worth Saving
If you're still walking home in a pair of discount-store waders that fold at the seams by August, patch what you can for now and put the money you'd spend replacing them toward a pair worth repairing instead. I've fished the Frogg Toggs Hellbenders hard for three seasons and they've earned every field fix I've given them.
Amazon Check Today's Price on Amazon →Step 1: Find the Leak Before You Try to Fix It
Before you patch anything, you need to know exactly where the water is getting in, and that's less obvious than it sounds. Waders leak in ways that misdirect you. Water runs down the inside of the boot before it pools at a low point, so the wet spot on your sock is often eight or ten inches below the actual hole in the fabric.
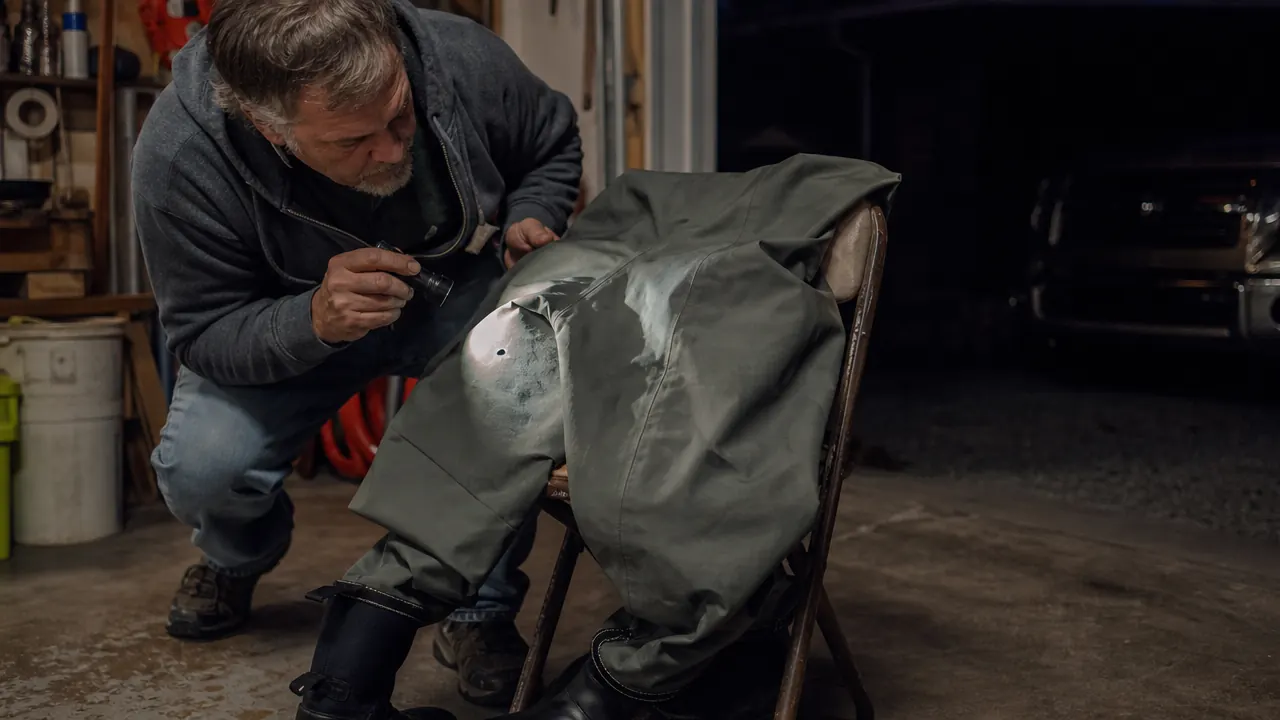
At home, the best method is still the simplest one. Turn the waders partially inside out, drape them over the back of a chair in a dark room or a dark garage, and slide a bright flashlight around the inside of the leg from the ankle on up. A pinhole glows like a tiny star on the outside of the fabric. I do this with my own waders every spring before the season starts, and I've found leaks this way that I never would have felt standing in the water.
In the field you don't have a dark room, so you use your body instead. Wade in and stand still for thirty seconds. A leak usually announces itself as a cold spot against your skin, on the shin, the knee, or right at a seam, before you ever feel actual wetness. Once you're back on the bank, some guys carry a small spray bottle of soapy water or diluted rubbing alcohol, wet down the suspect area, flex the leg, and watch for a bead of air bubbling out through the fabric. Rubbing alcohol works a little faster than soapy water and it evaporates clean, which matters for the next step.
Step 2: Dry and Clean the Area Before You Touch a Repair Product
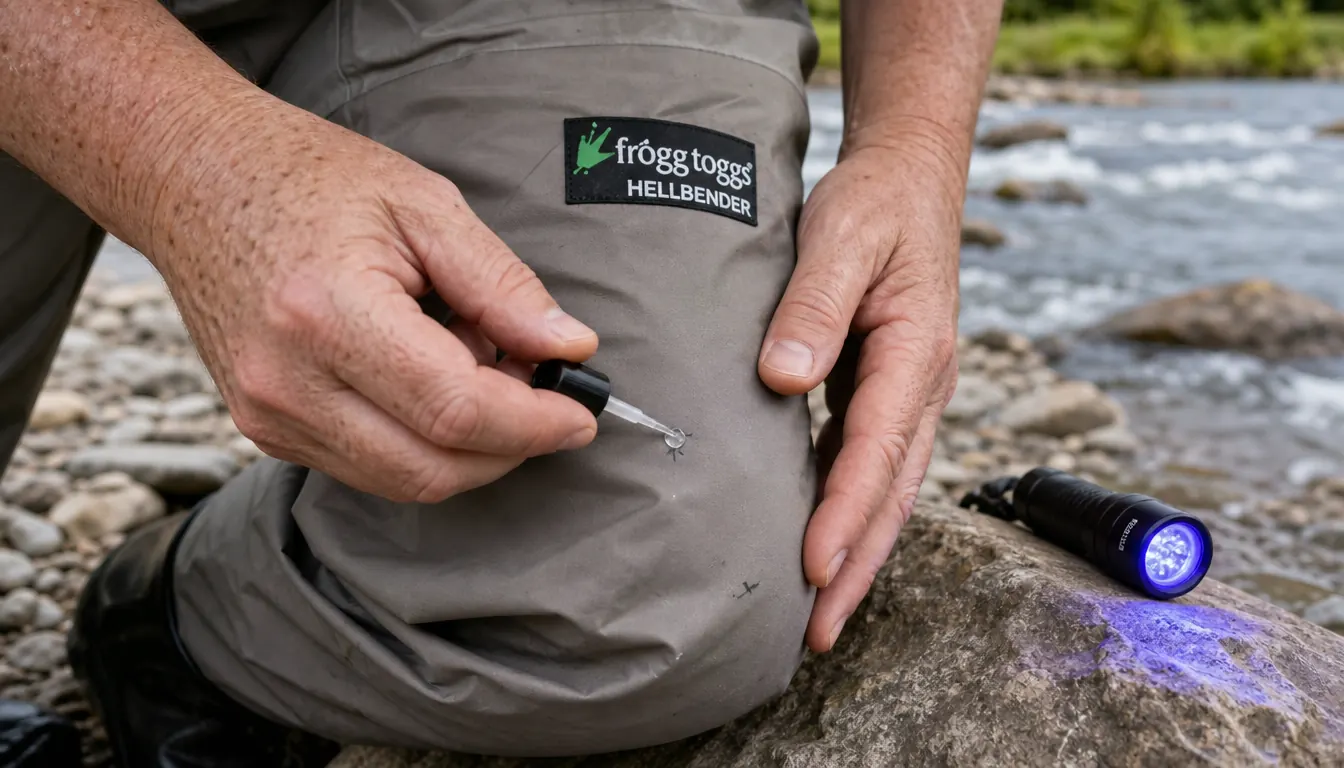
Every field repair I've ever had fail, and I've had a few, failed because I skipped this step or rushed through it. Aquaseal and UV-cure adhesives bond to clean, dry fabric. They do not bond well to a film of sunscreen, bug spray, river silt, or the residue left over from whatever you used to find the leak in the first place. Once you've marked the spot, usually with a Sharpie dot or a small piece of tape right beside it so you don't lose the exact location, dry the area completely with a bandana or the tail of your shirt. If you used rubbing alcohol to find the leak, that actually helps here, since it degreases the fabric on its way to drying. Give it a couple of minutes of air time before you open any adhesive. A wader that's still damp when you apply Aquaseal will end up with a patch that looks fine and lets water through at the edges within a day.
Step 3: Choose Aquaseal or a UV-Cure Repair Based on How Much Time You Have
You've got two real options for anything more than a tape job, and which one you reach for depends on whether you're trying to finish the day or fix the wader permanently before the drive home.
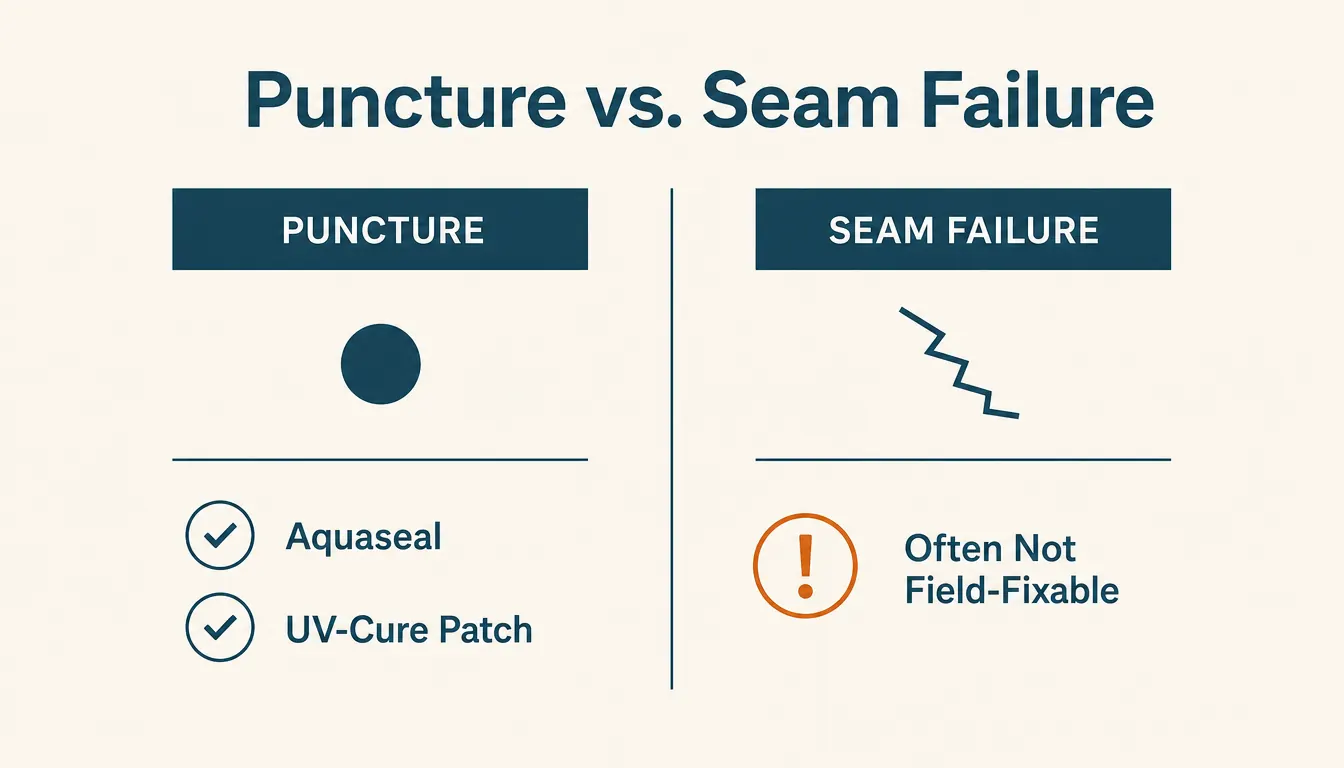
Aquaseal is the old reliable. It's a urethane adhesive that cures by reacting with moisture in the air, which means it needs somewhere between eight and twenty-four hours to fully set, depending on humidity. It's not a same-day fix. What it is, is close to permanent when it's applied correctly, and it flexes with the fabric instead of cracking the way some hardware store glues do after a season of hard use.
A UV-cure repair kit, the kind that comes with a small resin pen and a little UV flashlight, is the field option. You clean the spot, apply a thin bead of resin, hold the light on it for thirty to sixty seconds, and it's cured enough to fish on right then. I keep one of these in my vest and the Aquaseal at home for the permanent fix later. A UV patch isn't as tough over the long haul, but it will absolutely get you through the rest of the day on the water, and for a lot of small pinholes it ends up holding just fine on its own.
Step 4: Patch From the Inside When You Can, Outside When You Have To
There's a real difference between patching from the inside of a wader and patching from the outside, and it's worth understanding instead of just slapping resin wherever's convenient. An inside patch is the stronger, more permanent repair. Water pressure pushes against it from the outside, driving the patch into the fabric rather than trying to peel it away. If you're home, or you've got ten minutes and the leak sits somewhere you can reach by turning the leg partially inside out, patch from the inside with Aquaseal or a fabric patch and adhesive. This is how I fix anything on my own Frogg Toggs Hellbenders that isn't an on-the-water emergency.
An outside patch is the field compromise. You can't turn a wader fully inside out standing on a riverbank, so most in-the-field repairs go on the outside, over the hole, feathered an inch or two beyond the edge of the damage. It works, and a UV-cure outside patch has gotten me through plenty of afternoons, but understand it's taking direct abrasion against rocks and brush instead of being protected underneath the fabric. Plan on redoing it properly from the inside once you're back home.
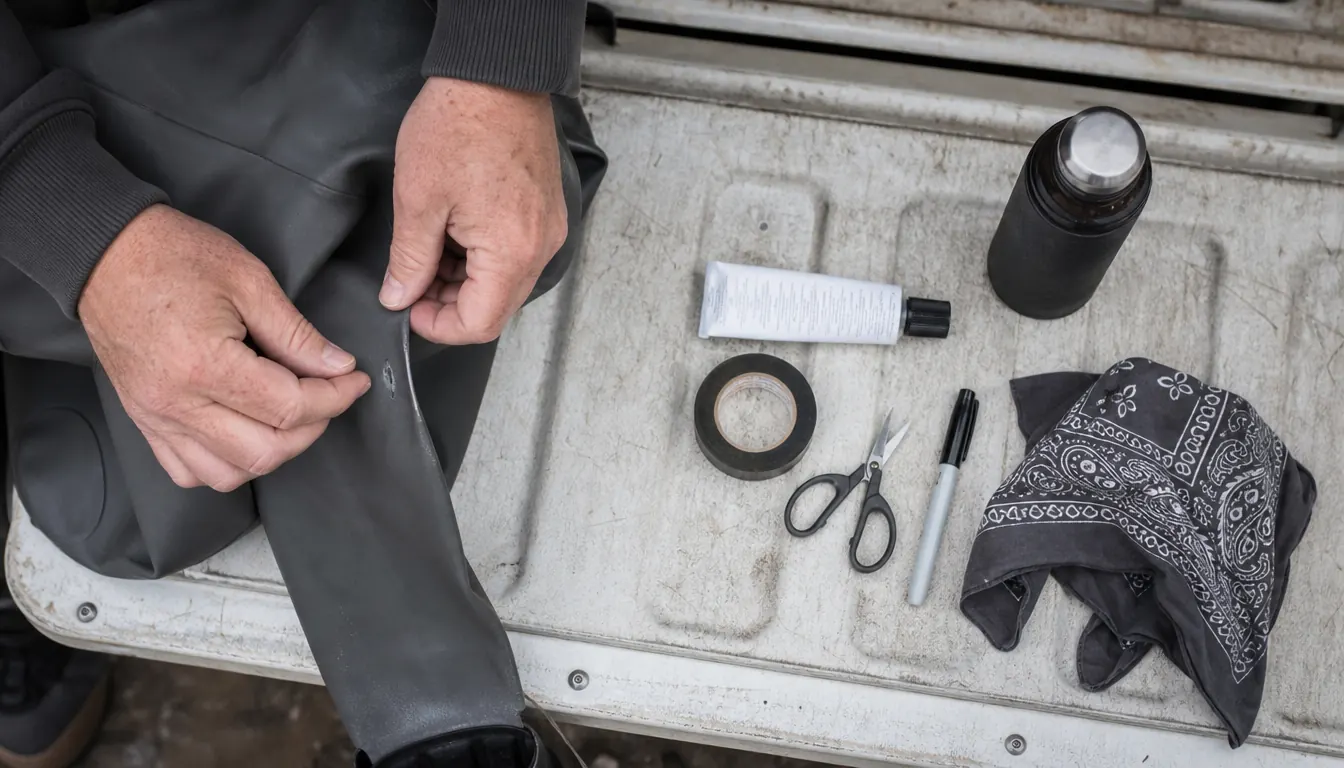
Step 5: Tape a Temporary Fix That Gets You Through the Rest of the Day
Sometimes you don't have adhesive at all, just what's in your truck or your vest pocket, and that's fine. Tape isn't a real repair, but it buys you hours. Plain duct tape works in a pinch, but it doesn't like being wet and it starts peeling within an hour of hard wading. What actually holds is Tenacious Tape or a similar seam-grade repair tape, applied to a dried, cleaned surface with the corners rounded off so they don't catch on brush and start peeling. Round every corner of a tape patch with scissors before you press it down. Squared corners are always the first thing to lift. If you don't have tape either, even a smear of candle wax or lip balm worked hard into a small pinhole will slow a leak enough to finish out a session, though I wouldn't trust it past that. None of this replaces an actual repair. It just means a small leak in your waders doesn't have to be the reason you load the boat early.
Step 6: Know the Difference Between a Puncture and a Seam Failure
Not every leak is fixable with a tube of Aquaseal, and it's worth knowing which kind you're dealing with before you burn through a repair kit on it. A puncture, a pinhole from a stick, a hook, or barbed wire on a fence crossing, is a small, isolated hole in the fabric itself. These are exactly what Aquaseal and UV-cure resin are built for, and they hold up well once repaired correctly.
A seam failure is a different animal. That's the taped or glued seam itself separating, usually along the crotch seam or where the bootie meets the leg, and it's often the result of factory seam tape breaking down rather than any damage from actual use. Seam tape can sometimes be redone with seam grip and new seam tape if you catch it early and the fabric on either side is still sound, but once a seam has separated more than a couple of inches, or the fabric nearby has gone brittle, you're patching a symptom, not the problem. I've tried to save a couple of old waders past that point before and just ended up with a slower leak in the same spot two trips later. At some point a wader has given you everything it's going to give, and the honest move is retiring it instead of chasing the same seam all season.
What Else Helps
The best repair is the one you make calmly at your workbench instead of standing in cold water with numb fingers, so I keep a small kit in a quart freezer bag in the truck year round. It's not complicated. A tube of Aquaseal, a UV-cure pen kit with its little light, a few strips of Tenacious Tape already cut down and rounded at the corners, a small pair of scissors, a bandana for drying the area, a travel bottle of rubbing alcohol, and a fine-point Sharpie for marking a leak the moment I find it so I don't lose the spot walking back to the truck.
That whole kit costs less than a good rain jacket, and it's saved more trips for Ray and me than I can count. When one of us starts favoring a leg or complaining about a cold foot halfway through a morning on the Merrimack, we're back at the truck in ten minutes with a fix in hand instead of calling the day off entirely.
A leaking wader in cold water isn't a nuisance you tape over and forget. It's a decision you need to make quickly, before you're the one who's cold and wet, not just your gear.
I'll say this plainly because I don't think enough guides do. A badly leaking wader in cold water is not just an uncomfortable afternoon, it's a safety issue. Water-filled waders get heavy fast, they drag on your legs, and cold water pulls body heat out of you quicker than most people expect, especially once you're wet underneath the waders and not just around the boot. If a leak is bad enough that you're taking on real water, don't try to finish the run. Get to shallow, stable footing, keep a wading belt cinched at all times so the legs can't fully fill if you go in over the top, and get out, get dry, and get warm before you worry one bit about the gear. The repair can wait. Cold-water trouble in a New Hampshire river in April doesn't wait for anybody.
I've fished my Frogg Toggs Hellbenders through three full seasons of exactly this kind of abuse, and the fact that they're built well enough to be worth patching instead of replacing is the real reason I recommend them over the disposable-feeling pairs some guys show up in at the launch. A forty-minute field repair is a lot cheaper than a new pair of chest waders, and it's a lot cheaper than cutting a good day on the water short.
The Best Wader Is the One You Never Have to Retire
A wader that holds a patch well is worth having in the first place. If you're shopping for a pair that'll still be worth repairing three seasons from now instead of landfill by August, the Frogg Toggs Hellbender is the one I keep sending guys toward.
Amazon Check Today's Price on Amazon →