
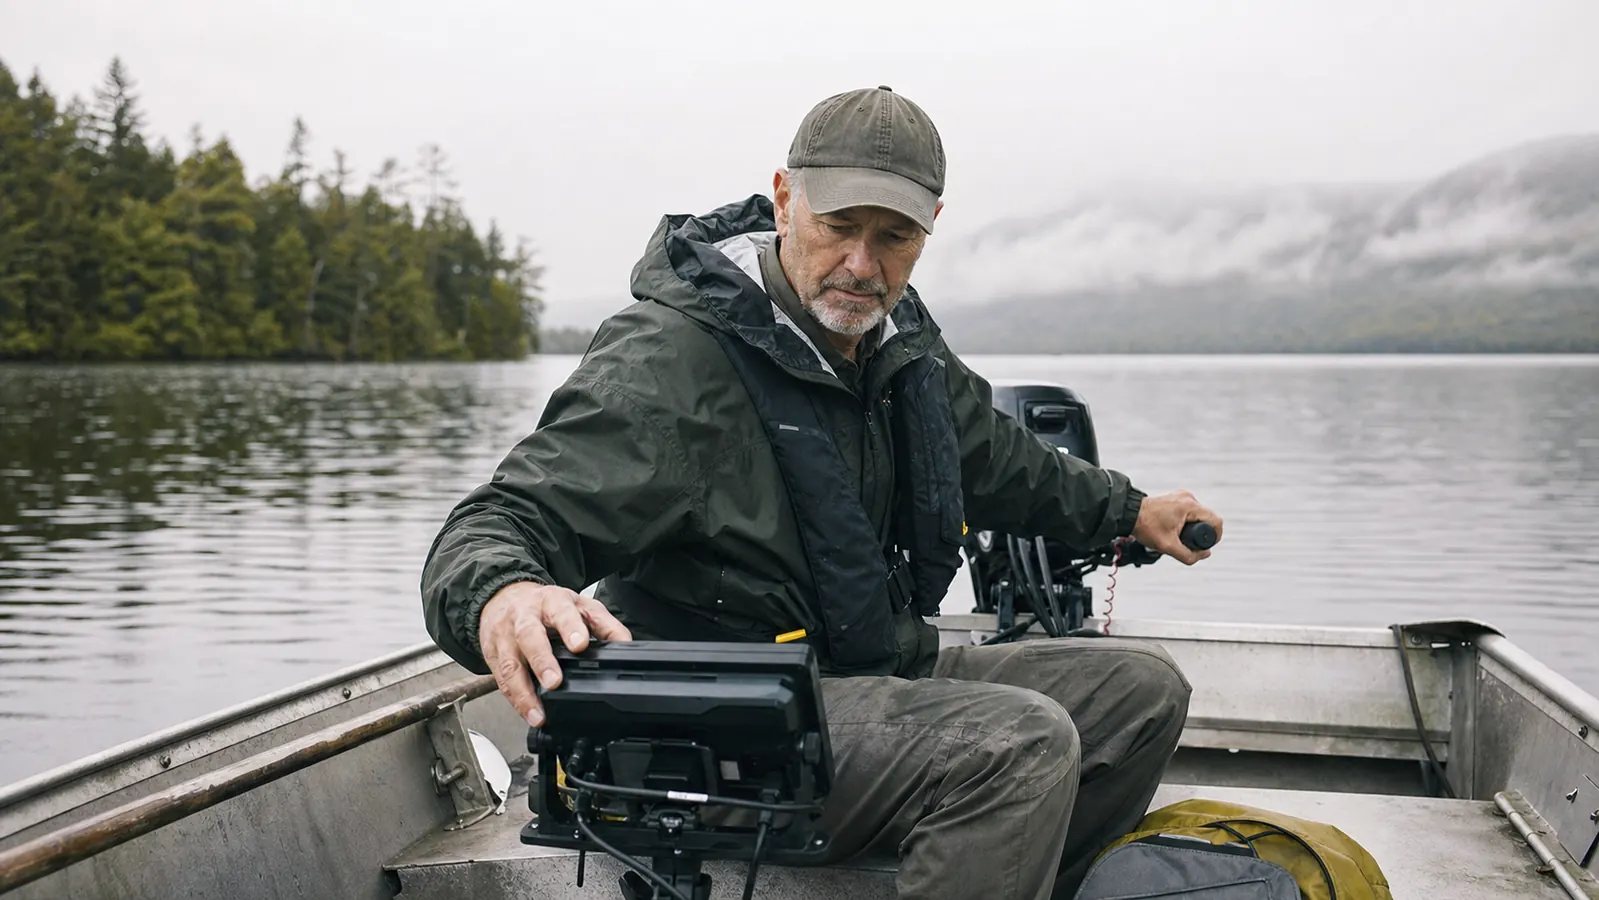
The first time I put a fish finder on my boat, a little 16-footer I still run on Lake Winnipesaukee, I stared at the screen for twenty minutes straight and had no idea what I was looking at. I saw squiggly lines, some fat, some thin, a hazy band running sideways across the whole screen, and every so often a little curved mark that I was pretty sure was a fish but couldn't have told you why. I marked a spot, dropped a jig down, and caught nothing. Then I marked another spot that looked exactly the same to my untrained eye and caught two lake trout in ten minutes. That gap, between owning a fish finder and actually reading one, is where most beginners get stuck.
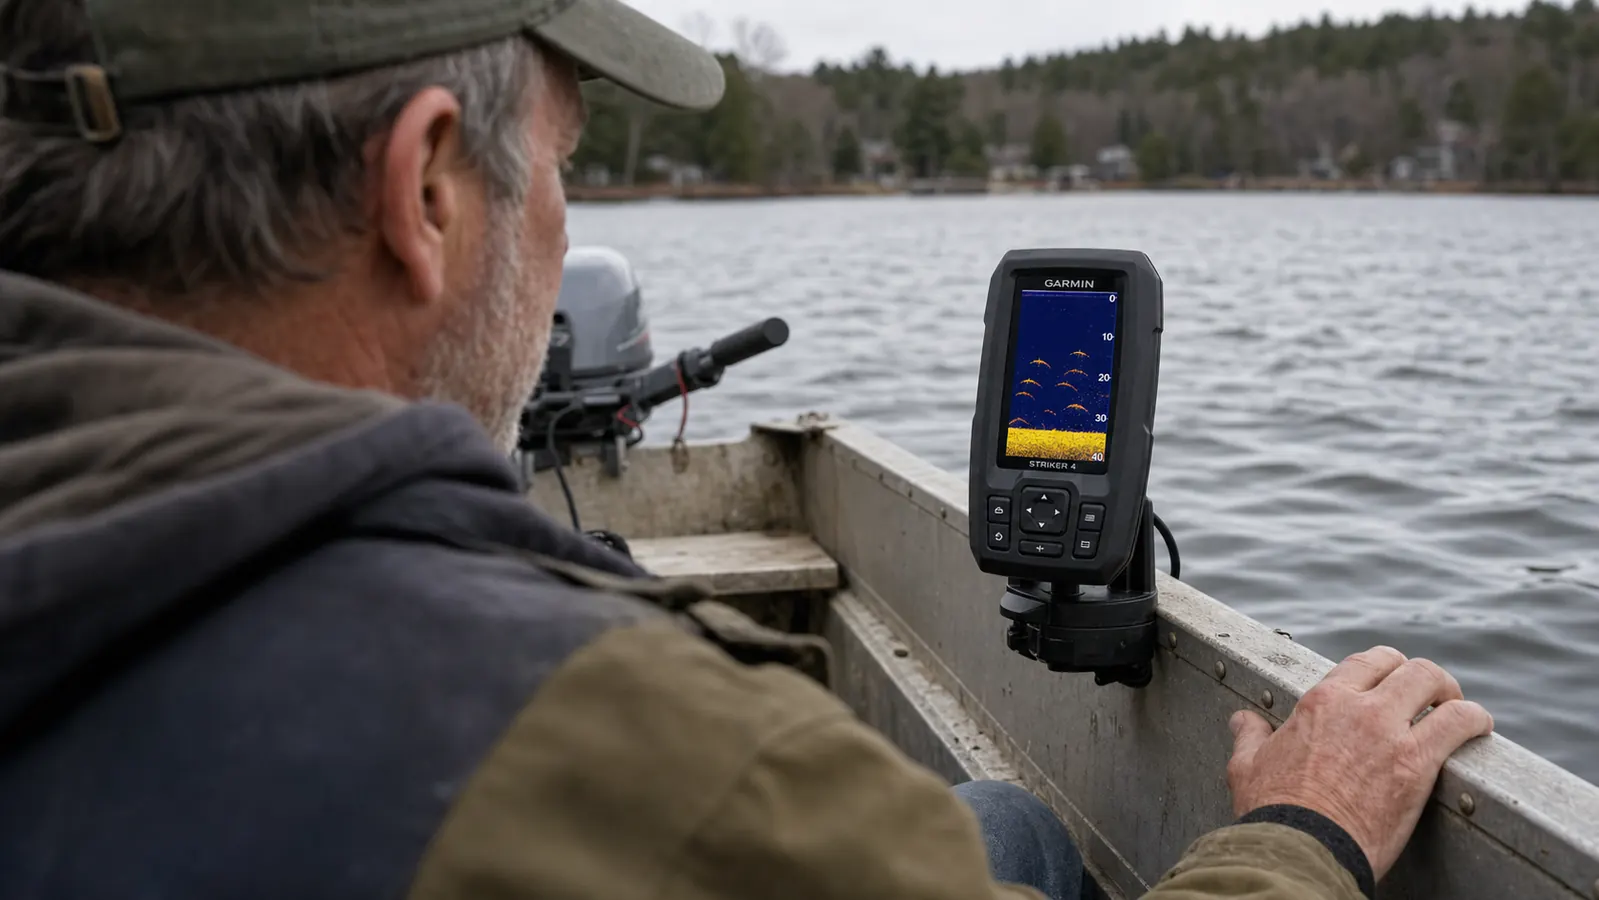
This guide is the walkthrough I wish someone had handed me back then. I'm going to explain what an arch on a fish finder actually is, why it forms the shape it does, and how to tell a real fish from a bait ball, a thermocline, or a clump of weed. I fish a basic unit, a Garmin Striker 4, on my own boat, and I'll use it as the reference point because it's simple enough that a beginner can learn on it without getting lost in menus. None of this is complicated once you understand the geometry behind it, but I won't pretend you'll have it down after one afternoon. It took me most of a season before arches stopped looking like abstract art and started looking like fish.
Stop staring at a screen full of squiggles and guessing
Learning to read a fish finder is a lot easier when the screen itself is simple. The Garmin Striker 4 strips out the clutter that confuses beginners on pricier units and shows you clean CHIRP sonar and GPS without a manual the size of a phone book.
Amazon Check Today's Price on Amazon →Step 1: Learn What an Arch on a Fish Finder Actually Is
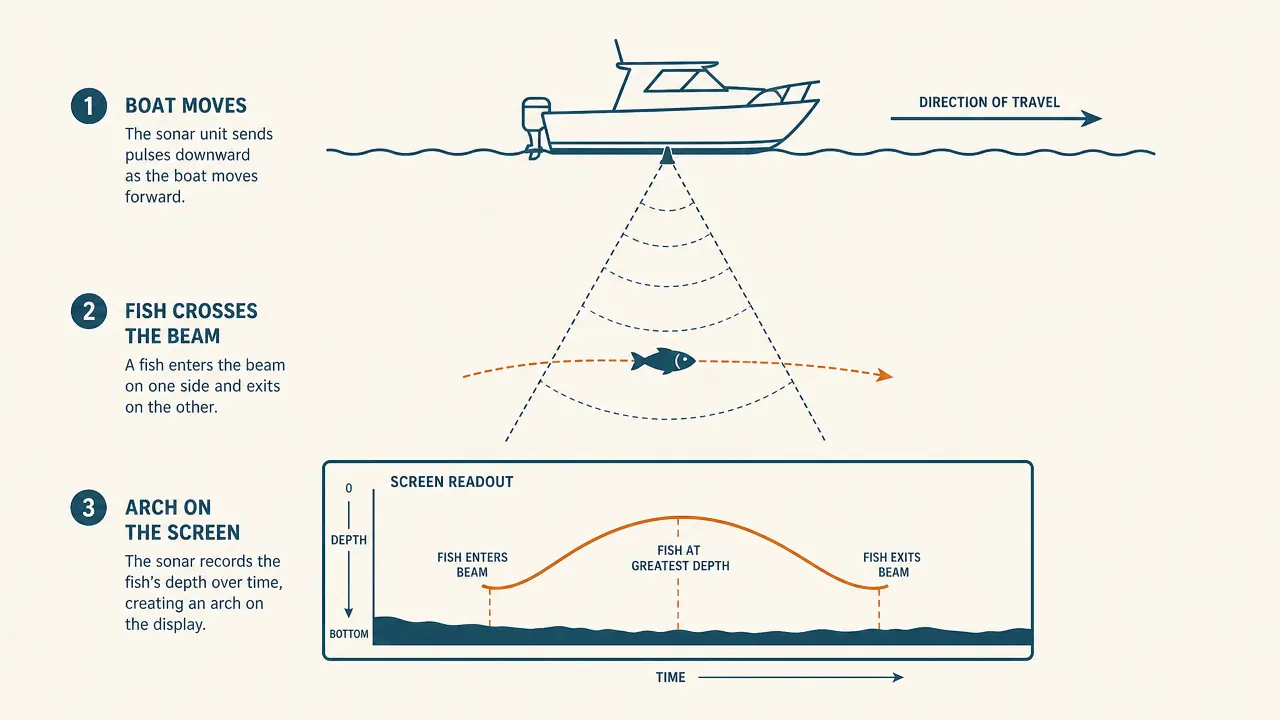
A fish finder doesn't take a photograph of a fish. It sends a cone-shaped sound wave down through the water, and when that cone hits something dense, like a fish's swim bladder, some of the sound bounces back up to the transducer. The unit draws that echo on the screen as a mark. Because the cone is widest at the surface and narrows as it goes deeper, and because your boat is moving while the fish sits still or moves independently, the fish doesn't stay in the same spot inside that cone for long. It enters on one edge of the cone, passes closer to the center as your boat moves overhead, and exits on the far edge.
That's the whole secret to the arch shape. As the fish enters the edge of the cone, the sound wave has to travel a longer path to reach it and bounce back, so the fish reads as deeper and the echo is weak, a thin line. As your boat moves and the fish passes under the center of the cone, the path is shortest, the fish reads at its true depth, and the echo is strongest, so the mark gets thicker and rises toward the middle. Then as the fish exits the far edge, the mark thins back out and appears to drop again. Strung together, those three phases draw a curve on the fish finder screen. That curve is your arch, and a full arch means one thing specifically, your boat's cone passed completely over that fish, edge to edge.
Step 2: Judge Arch Thickness Before You Judge Fish Size
New anglers almost always try to size up a fish by how big the arch looks on the fish finder, and that instinct isn't wrong, it's just incomplete. A thick, tall arch usually does mean a bigger fish, because a larger swim bladder reflects more sound energy and holds that stronger echo longer as it crosses the cone. But thickness is also a function of how long the fish stayed inside the cone, which depends on your boat speed. Idle slowly over a fish and you'll get a fat, well-formed arch even from a modest-sized fish, because it had more time to cross the beam. Run at a faster trolling speed and that same fish might show up as a thin sliver on the fish finder, because it crossed the cone in half the time.
This is why I never judge size off a single pass. If I mark a decent-looking arch, I'll slow down, circle back, and cross the same spot again at idle speed on the Garmin. If the arch stays thick and well-defined on a second and third pass, I trust it's a solid fish worth dropping a bait on. If it thins out, it was probably a smaller fish caught at a flattering angle the first time through.
Step 3: Understand Why a Hovering Fish Shows Up as a Line, Not an Arch
Here's the part that trips up almost every beginner I've taken out on Winnipesaukee. If a fish is sitting directly under your boat, holding still, not moving in or out of the cone, it will not draw an arch on the fish finder. There's no edge-to-center-to-edge motion happening, so the unit just shows a flat mark or short straight line at that depth, sometimes for as long as the fish stays put. A lot of beginners see that flat line and assume the fish finder is glitching or picking up something other than a fish. Usually it's the opposite, it's a fish that isn't spooked and isn't moving, which in my experience are often the better fish to target because a nervous fish darts and gives you a clean arch on its way out of the area.
Don't dismiss a straight horizontal mark as clutter just because it isn't shaped like a textbook fish finder arch. If it's a crisp, solid line at a consistent depth and it holds there while everything else on the screen scrolls by, that's very likely a fish sitting still, often suspended over structure. Drop straight down on it rather than expecting it to behave like the arches you see while trolling.
Step 4: Match Your Boat Speed and Scroll Speed to What the Fish Finder Shows You
Two settings change what your screen looks like more than anything else, how fast your boat is moving, and how fast the picture scrolls across your fish finder. Faster boat speed compresses everything horizontally, arches get skinnier and closer together, and you'll miss detail on structure and softly-holding fish because you're covering water too quickly for a clean read. Slow the boat down, whether you're idling, drifting, or trolling at a crawl, and the same fish spreads out into a wider, more legible arch with more of that edge-thick-edge shape visible.
Scroll speed on the fish finder does something related but separate. A faster scroll speed refreshes the screen more often, which is nice for seeing real-time changes but can make marks flicker by before you register them, especially on a smaller 3.5 inch screen like the one on my Garmin Striker 4. A slower scroll speed stretches each mark out over more of the screen, which I prefer for structure fishing because it gives me more time to study an arch before it scrolls off the edge. When I'm teaching someone new to read a fish finder, the first thing I make them try is slowing the boat and slowing the scroll, because a clean, stretched-out arch is a lot easier to learn from than a fast, compressed one.
Step 5: Tell Fish Apart from Bait Balls, Thermoclines, and Weed
Once you can read a single arch, the next skill is telling fish signals apart from everything else the fish finder shows you, because a lake or a tidal river throws plenty of look-alikes at you. Bait balls, schools of shiners or alewives, show up as a dense, fuzzy cloud of small, tightly packed marks rather than distinct individual arches. You'll often see this cloud sitting just above a cleaner-looking arch or two underneath it, a classic sign of gamefish holding under a school of baitfish on Winnipesaukee in July.
A thermocline, the layer where warm surface water meets colder water below, shows up completely differently on the fish finder screen. It's a faint, hazy, mostly straight band that runs horizontally across the entire screen at a consistent depth, regardless of what's underneath your boat. It isn't a fish and it isn't structure, it's a density change in the water column, and a lot of beginners waste time dropping baits on it thinking it's a giant school of something. Weed shows up as fuzzy, irregular columns rising off the bottom, usually with a rougher texture than a fish arch and no clean curved edge. Once you've seen each of these a few times on your own unit, they stop looking alike. The mistake almost everyone makes early on is assuming every mark that isn't obviously bottom must be a fish.
Step 6: Read Bottom Hardness the Same Way You Read Arches
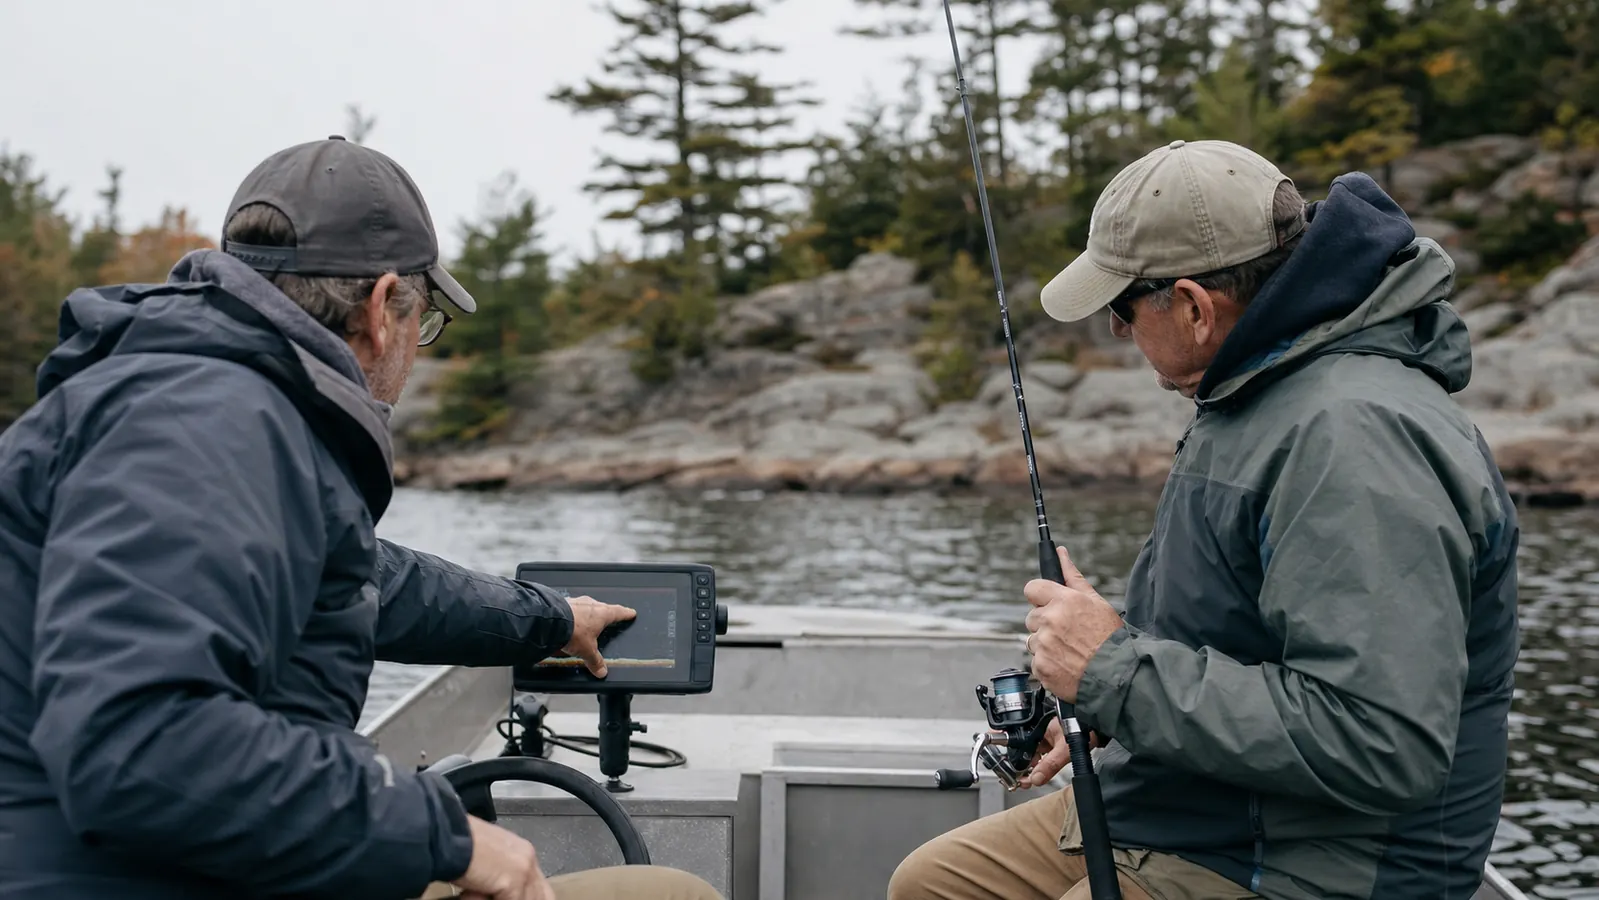
The line at the bottom of your fish finder screen carries more information than beginners give it credit for. A thick, bright, sharply defined bottom line, especially with a second fainter line just below it, usually means hard bottom, gravel, rock, or hard-packed sand. That second faint line is the sound signal bouncing off the bottom, back up to the surface, and back down again, which only happens cleanly when the bottom is dense enough to reflect strongly. A thin, soft, less defined bottom line with no secondary echo usually means a mucky or silty bottom that absorbs more of the signal instead of bouncing it back.
This matters for more than curiosity. Fish relate to structure, and a hard, rocky patch surrounded by softer bottom is exactly the kind of transition that holds fish. Learning to read that bottom line, not just the arches above it, is what lets you find those transitions instead of running along randomly waiting for an arch to appear.
Step 7: Dial In Sensitivity and Gain Before You Trust Any Arch
Every fish finder, including the Garmin Striker 4 I run, has a gain or sensitivity setting that controls how strongly the unit displays returning echoes. Set the gain too low and you'll miss real fish entirely, especially smaller or deeper ones with a weaker echo. Set it too high and the screen fills with noise, false arches, and clutter from suspended particles or electrical interference from your outboard, none of which are fish. I've watched anglers get frustrated at a fish finder that seemed to show fish everywhere, only to realize the gain was cranked up so high it was reading noise as fish.
My habit is to start with the gain on the lower half of the range in clear water and bump it up gradually until faint bottom detail starts showing cleanly, without the screen turning to static. In stained water, after a heavy rain, I'll run the gain higher because the signal has to work harder. Adjust gain for the conditions instead of leaving it on a default setting, and you'll trust what your fish finder shows you a lot faster.
What Else Helps
Reading a fish finder well isn't just about the screen, it's about cross-checking it against what happens when you drop a line. Every time I mark a good-looking fish, I note what I catch, or don't catch, against what the arch looked like. Over a season that builds a mental library, this shape usually means smallmouth. Spend an afternoon idling over water you already know holds fish, a dock with baitfish around it, and watch what those known fish look like on your fish finder before trying to identify a mystery mark elsewhere. Ray, my brother-in-law, still texts me screenshots asking what a mark is, and half the time the answer is just to go slower and look again.
A fish finder doesn't hand you fish, it hands you information. Learning to read that information takes a season on the water, not an afternoon with the manual.
What I Liked
- Simple CHIRP display makes arches and bottom detail easy to distinguish for a beginner
- Basic gain and scroll speed controls without a confusing menu tree
- Compact 3.5 inch screen and built-in GPS work fine on a small aluminum boat
Where It Falls Short
- Screen is small enough that fine detail can be hard to see in bright sun
- No side-scan, so you're limited to what passes directly under the boat
- Basic mapping means you'll still want your own knowledge of local structure
Learn on a fish finder that doesn't fight you while you're learning
You don't need a unit with six screens and a stack of menus to learn how to read arches. The Garmin Striker 4 gives you clean sonar, GPS, and simple controls, which is exactly what a beginner needs to build this skill without getting overwhelmed.
Amazon Check Today's Price on Amazon →