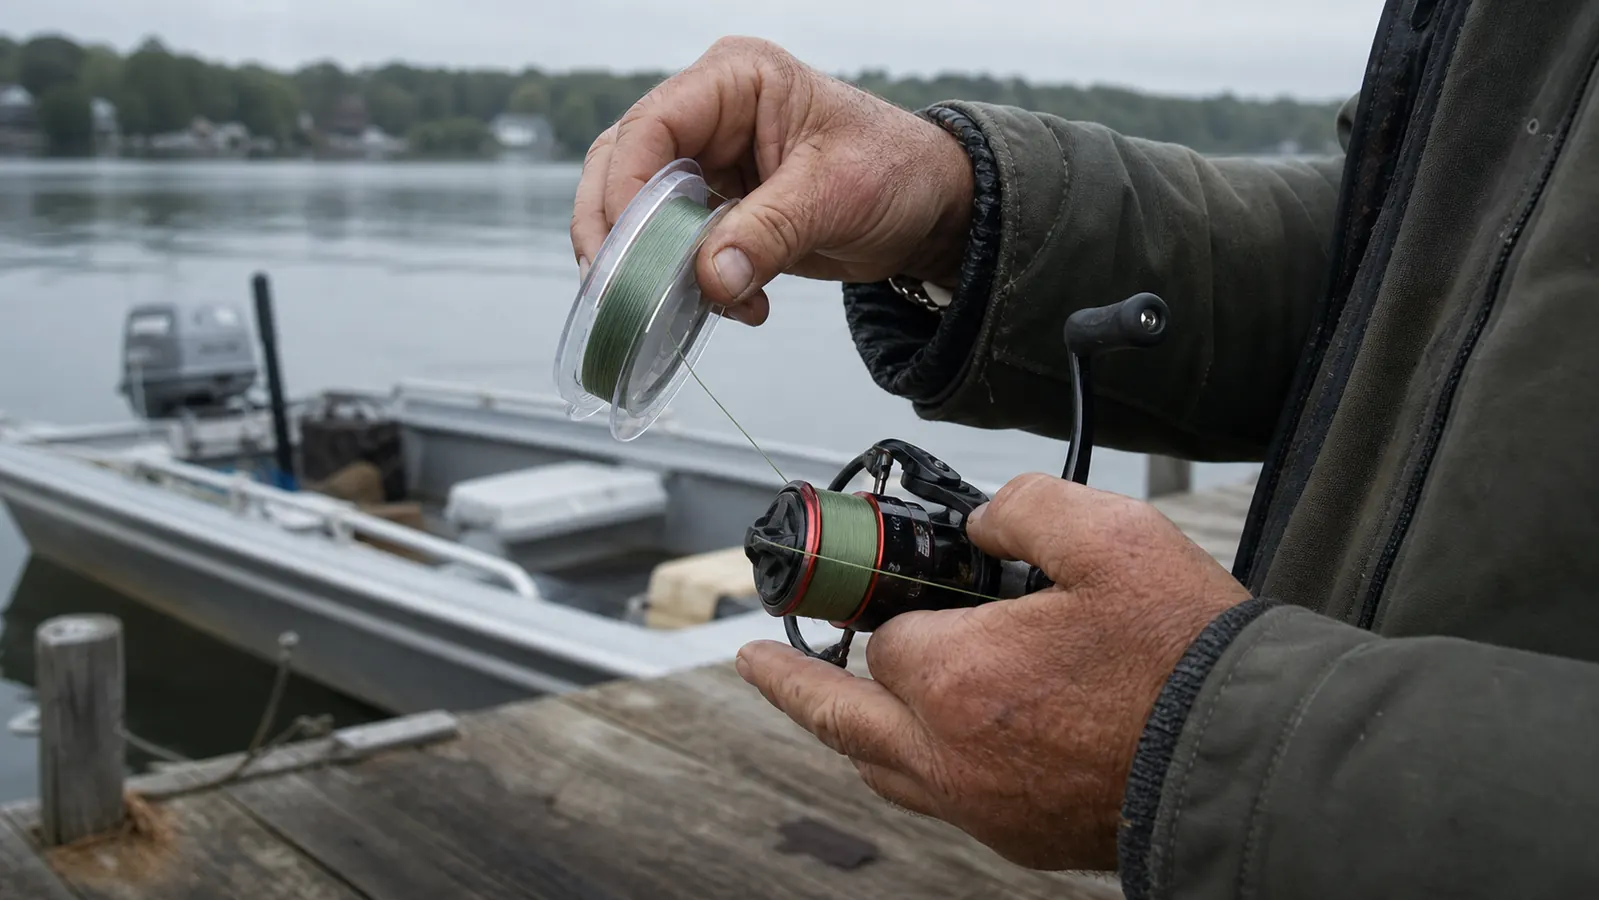
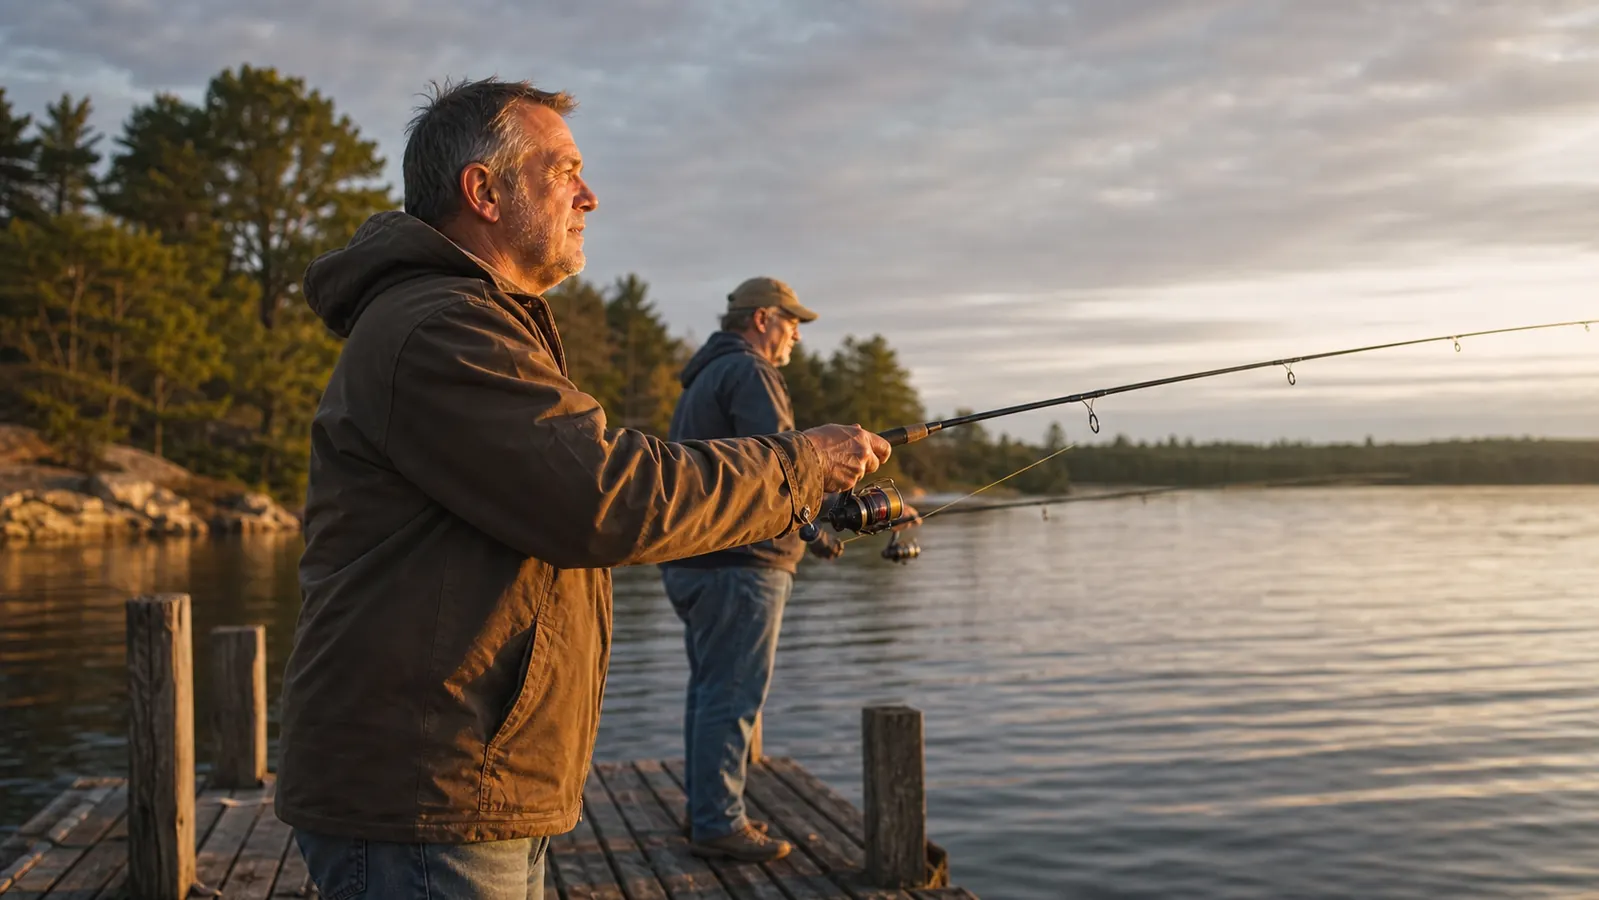
The first time I spooled braided line onto a spinning reel without any backing, I watched about eighty yards of it spin in a lazy circle around the spool the moment a bass took off with my chatterbait. No backing, no tape, nothing but hope holding it to the plastic underneath. The knot didn't break. The knot just spun free, and I stood there on my dock on Lake Winnipesaukee reeling in slack line while an eighteen-inch smallmouth swam off with my confidence. That was fifteen years ago, and I still remember exactly how dumb I felt.
Braided fishing line is round, slick, and has almost no give to it, which is exactly what makes it worth using in the first place. It also means it will spin on a bare aluminum or graphite spool no matter how tight you cinch the first wraps down. This isn't a defective reel or a bad batch of line, it's physics, and there's a fix for it that takes maybe ten extra minutes the first time you spool up. I've walked my brother-in-law Ray through this same process on the tailgate of my truck at three different boat launches, and once you've done it correctly one time, every spool after that goes fast.
Stop Fighting Spin-Out Before You Even Make a Cast
I re-spool with KastKing Superpower now because the coating grips a backing knot cleaner than most braided lines I've tried, and at 150 yards a spool there's enough line to redo a reel twice if you botch a knot the first time through.
Amazon Check Today's Price on Amazon →Step 1: Decide Between a Mono Backing or a Tape-and-Rubber-Band Setup
Before any line touches the spool, decide how you're going to keep the braided line from spinning against smooth plastic or metal. There are two approaches that actually work, and one that only sort of works. The one that only sort of works is a few extra overhand knots and cranking down as hard as you can. Skip that. It buys you a day, not a season.
The first real option is running twenty to thirty yards of monofilament or fluorocarbon backing underneath the braid. This does double duty. It fills the arbor of a reel that was designed with thicker mono in mind, so you don't end up with three hundred yards of ten-pound braid only filling two-thirds of the spool, and the rougher surface of mono grips a knot far better than bare plastic ever will. I run twelve-pound mono backing on most of my spinning reels and bump up to seventeen-pound on the levelwind I keep for summer trips.
The second option is a strip of electrical tape wrapped once around the bare spool, or a rubber band tucked under the first few wraps if your reel has a braid-ready spool with a rougher, ridged surface. Tape works fine on reels where you don't also need to solve a low-capacity problem, and it's the faster method. It's what I tell people to do if they're re-spooling in a parking lot before an evening trip with no backing line handy. Just know tape alone won't help if your spool is genuinely too small for the running line you bought.
Step 2: Tie an Arbor Knot to Anchor the Line to the Spool
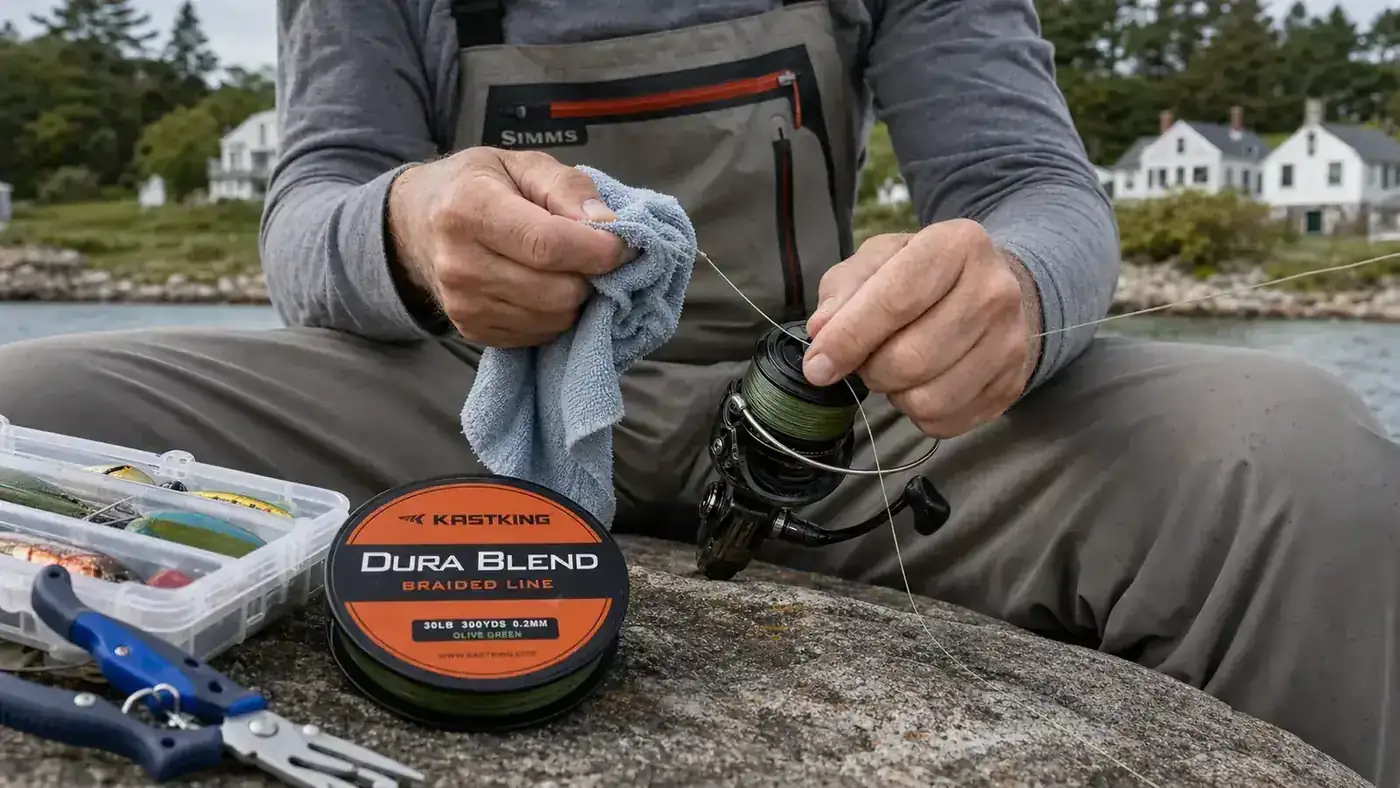
Whether you're starting on bare plastic or tying onto backing you just wound on, the connection to the spool itself should be an arbor knot, not a shoelace-style overhand loop. Wrap your line around the arbor, tie an overhand knot around the standing line, then tie a second overhand knot in the tag end a couple inches further down so it jams against the first knot when you pull tight. That second knot is the part people skip, and it's the part that keeps the whole thing from creeping loose under load.
Snug the arbor knot down firmly but don't put your full body weight into it. You want it seated, not so tight it digs a groove into a plastic spool. On the two spinning reels I re-spool every spring, both have narrow aluminum spools, and I've learned to bring the first pull to about seventy percent effort. That's plenty once the backing and the wraps on top of it are doing their share of the work holding everything in place.
Step 3: Join the Backing to the Braid with an FG Knot or Double Uni
This is the knot that actually keeps your braided line from spinning independent of the backing once a fish is pulling drag. An FG knot is the stronger, thinner option and it's what I tie now that I've had the practice, but it takes a few tries to get smooth. A double uni knot is easier to learn on the tailgate and still holds fine for anything short of heavy saltwater drag settings. Either one works. Pick the one you can tie reliably under a little pressure, because a knot you fumble at six in the morning before a trip is worse than a slightly weaker knot tied clean.
I switched to KastKing Superpower a few seasons back, and one thing I noticed right away is how the line's coating holds a knot without that slick, waxy feel some braided lines have straight off the spool. An FG knot cinches down tighter and stays put through the first dozen casts, which matters, because that first day of casting is when a sloppy connection knot works itself loose if it's going to.
Trim the tag ends close, but leave about an eighth of an inch so the knot doesn't slip back through itself the first time it takes real pressure. Test the connection by pulling hard by hand before you ever put the reel back together. If it holds your full pull without slipping, it'll hold a fish.
Step 4: Set the Filler Spool in the Right Orientation to Avoid Twist
Line twist gets blamed on the reel or the angler, but a lot of it starts right here, at the spooling station. Braided line comes off a bulk filler spool, and that spool has to feed off in the same rotational direction the line was wound on, or you're introducing a half twist into every foot that goes onto your reel. Lay the filler spool flat on the floor, or run a pencil through the middle so it spins freely, then watch the first few feet come off. If the line comes off with a curl or a wobble, flip the spool over.
I do this on the kitchen floor most years, filler spool flat between my feet, reel held out in front of me, line running through a folded paper towel or a damp rag between the spool and the first guide. Keep the bail open and let the line lay on naturally rather than hand-guiding it side to side. Let the reel's own oscillation do that work. Hand-guiding it yourself usually makes the lay worse, not better, especially with braided line, since it doesn't have the memory to correct itself the way mono does.
Step 5: Keep Firm, Even Tension with a Damp Cloth While You Wind
Loose braided line on a spool is where wind knots start. Braid has almost no stretch, so if you spool it on loose, the top wraps will dig down into the looser wraps underneath the first time you set the hook hard or a fish makes a real run, and you'll get a bird's nest of loops pulled up through your guides at the worst possible moment. Run the line between your thumb and finger, or better, through a damp cloth or folded paper towel, the entire time you're reeling it on. The dampness keeps friction from burning your skin and helps seat the wraps tight against each other.
Have someone hold the filler spool and apply resistance if you can. I've done this alone plenty of times, using a pencil through the spool and my foot for tension, and I've done it with Ray holding the spool while I crank the handle. Either way works. What matters is that the tension stays consistent the whole time, not tight for the first twenty feet and then loose because your hand got tired. Braided fishing line shows every inconsistency in tension as a soft spot that unravels later on the water.
Step 6: Fill to an Eighth Inch Below the Spool Lip, No More
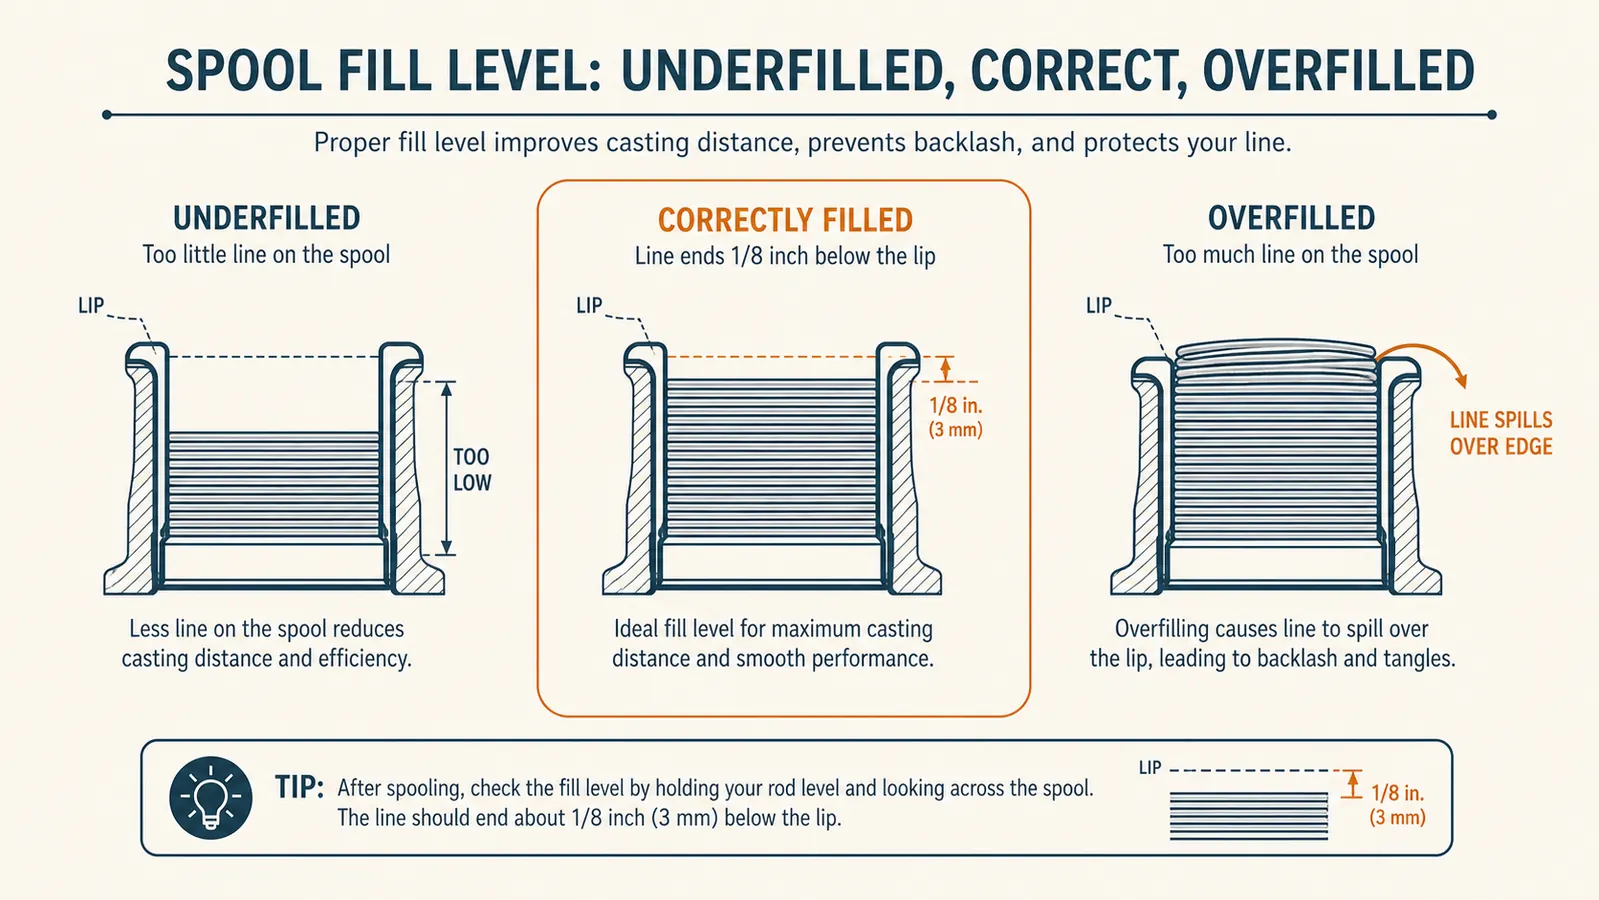
Overfilling is the single most common mistake I see, and it's an easy one to make because braided line is thin and feels like you've barely put anything on the reel. Stop reeling once the line sits about an eighth of an inch below the outer lip of the spool. That gap matters. Fill it flush to the lip, or worse, mound it up past the edge, and the top wraps have nowhere to go but off the side of the spool on your first hard cast, which is exactly how you end up with a backlash-style tangle in braided line that can take ten minutes to pick apart on the water.
If you're using a backing setup, this is also your check that you calculated the right amount of backing. If you're still an eighth of an inch short after your whole spool of braid goes on, you needed more backing. If you overshoot the lip with backing to spare, you used too much. Write the yardage down on a piece of tape stuck to the reel foot so next year's re-spool doesn't turn into more guesswork.
Step 7: Let the Line Settle Before Your First Cast
Once the reel is full, don't just toss it in the boat and go. Run the line out under light tension for a few real casts in the yard or off the dock, not just stripping line off by hand, and reel it back in the way you actually fish. This lets the wraps seat against each other under the same kind of load they'll see on the water, and it's usually when you'll notice if a wrap crossed itself wrong or if there's a weak spot in your connection knot, while you're standing in the yard instead of fifty yards from a dock piling with a striper on.
I do this the evening before every trip that starts with fresh line, whether that's a spinning reel headed for smallmouth on the Merrimack or a levelwind loaded up with KastKing Superpower for a coastal trip chasing stripers out of the mouth of a tidal river in southern Maine. Ten minutes of casting in the yard has saved me from at least three tangled first casts over the years, and it costs you nothing but a little daylight.
What Else Helps
A few small habits make everything above hold up better over a season. Rinse braided line with fresh water after any saltwater trip, since salt crystals work into the weave and add abrasion you can't see. Check the first three feet of line before every outing for fuzzing or discoloration, since that section takes the most abuse against rocks, docks, and boat hulls, and re-tie your terminal connection if it looks rough. And don't assume a reel that held mono fine for years will automatically be fine with braid. A cheap plastic spool with a smooth finish is more prone to slipping than a machined aluminum one, which is part of why I stuck with KastKing Superpower once I found a spooling routine that worked with it, so if you keep having spin-out problems after doing everything in this guide correctly, it might be time to look at the spool itself, not just the line.
Braided line doesn't fail because it's weak. It fails because of ten minutes of prep somebody skipped.
Get the Spool of Braid That Actually Holds a Knot
KastKing Superpower is what's on every reel I hand Ray before a trip now, backing already tied on and ready to fish. Today's price on Amazon covers enough yardage to redo a reel twice over if a knot goes wrong the first time.
Amazon Check Today's Price on Amazon →